How to Properly Install Deck Joists and Beams
Proper installation of deck joists and beams guarantees a sturdy and lasting deck. Begin by evaluating your yard and planning the deck layout for ideal use and aesthetics. Choose pressure-treated lumber, like Southern pine, for durability, and make certain all cuts are treated with wood preservative. Attach rim joists to the ledger board with mechanical fasteners and employ joist hangers. Space field joists precisely 16 inches apart, crown side up, and reinforce with blocking every 8 feet. Secure beams perpendicular to joists using caps and structural screws. Use hurricane ties for additional stability. Explore these steps further to enhance your understanding.
Expert Highlights
- Install joists crown-up to prevent sagging and ensure a strong base.
- Use galvanized joist hangers, filling all holes for secure joist attachment.
- Space joists 16 inches on center for proper support and load distribution.
- Securely attach beams perpendicular to joists, parallel to the house wall.
- Use hurricane ties and structural screws for strong joist-to-beam connections.
Planning Your Deck Layout
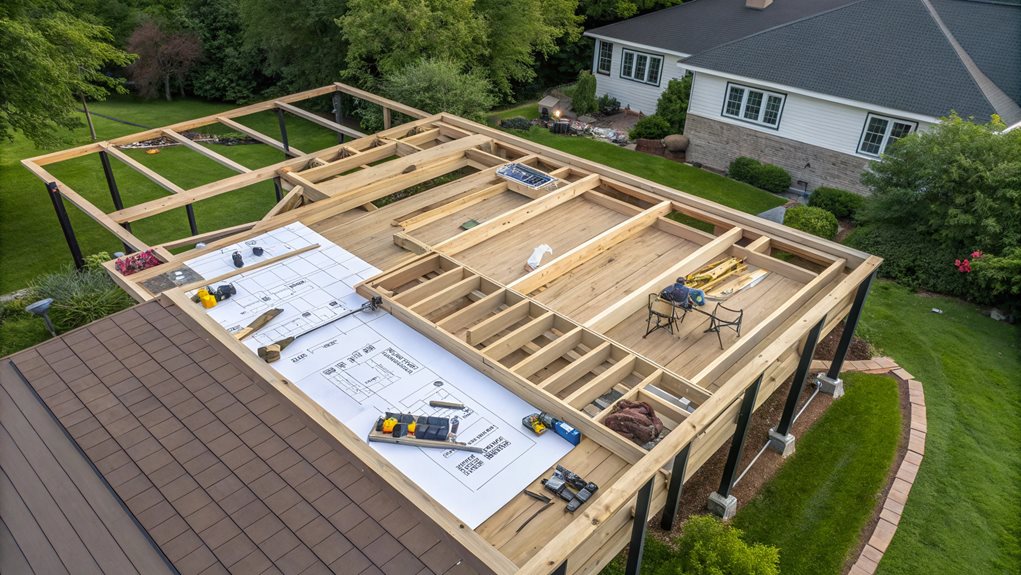
When it comes to planning your deck layout, the initial step is to thoroughly understand your space. Begin by evaluating the shape of your yard, as it directly influences the potential design, size, and orientation of your deck. Consider the natural sunlight patterns and how they will affect the deck's usability throughout the day. Capturing scenic views while ensuring privacy requires thoughtful planning around existing elements like gardens or water features. A crucial consideration is to ensure the deck space reflects personal taste while harmonizing with the home's architecture. Assess the ideal placement for entry and exit points to enhance flow and accessibility. Your deck should harmonize with your home's architecture, aligning in materials, colors, and style. Incorporating outdoor living features can transform your deck into a functional extension of your living space. To withstand the effects of weather, carefully choose materials that can endure temperature fluctuations without compromising durability or aesthetics.
Preparing Your Materials
Before diving into the construction of your deck, gathering the appropriate materials is paramount to ensuring a sturdy and long-lasting structure. Selecting the right lumber is essential; joists should be crafted from 2×6 to 2×10 lumber, chosen based on beam spacing in line with local building codes. Beams often range from 4×6 to 4×10, aligning with joist spacing. Pressure-treated lumber is advised for its affordability and durability. Opt for Southern pine, Douglas fir, Western red cedar, S-P-F, or Hem-Fir for joists, considering that redwood and Northern white cedar might require larger sizes. For enhanced durability and aesthetic versatility, consider the use of composite boards as deck materials. Depending on the type of decking, joist spacing should be carefully planned to support the deck properly. Cutting and preparation are key; accuracy in joist and beam length is vital, with joists installed crown-up to prevent sagging. To enhance stability, ensure that the beams are glued and nailed securely using PL premium adhesive and galvanized nails. Treat all cut ends with wood preservative.
Attaching Rim Joists
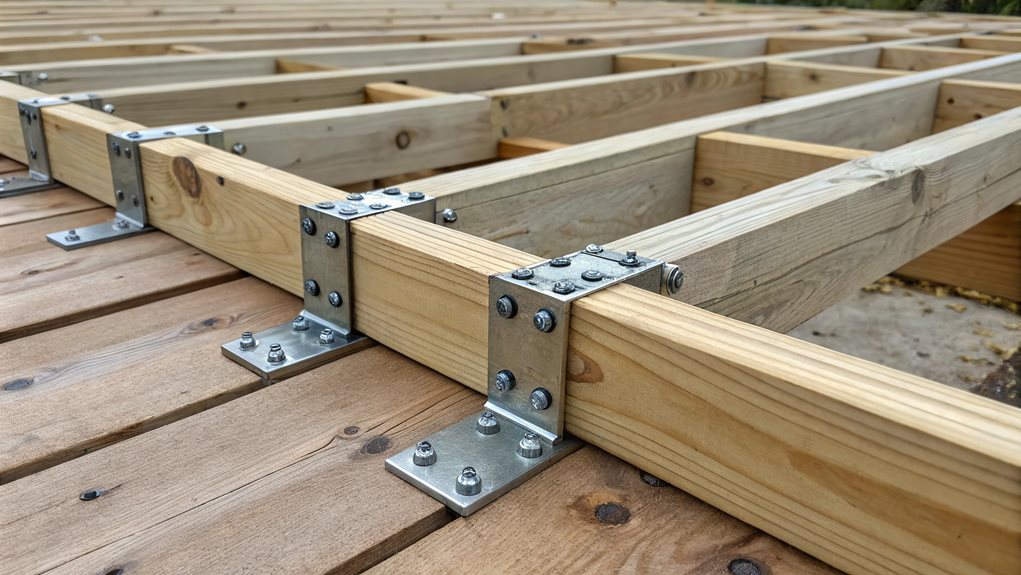
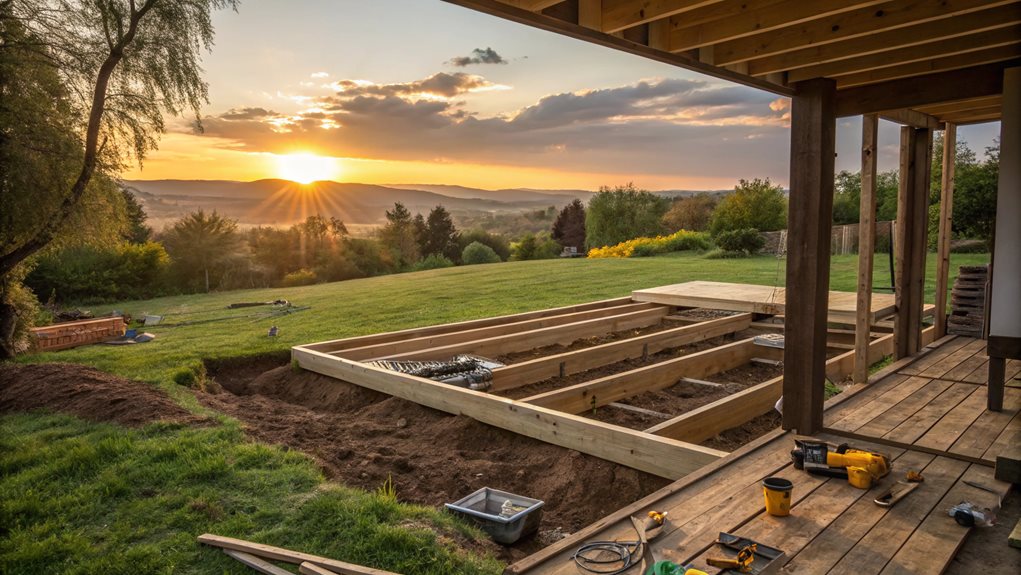
The process of attaching rim joists is an essential step in deck construction, demanding precision and the use of appropriate fasteners. Begin by utilizing approved fasteners to connect the side rim joist to the ledger board. Employ a mechanical connection, such as a joist hanger, using designated screws to guarantee a firm attachment. It's crucial to fill all hanger holes with fasteners. Many modern decks utilize sustainable and eco-friendly materials to ensure long-lasting and environmentally conscious construction. Joist hangers are required to attach joists to beams, ensuring secure and durable connections. Secure rim joists with framing screws, ensuring alignment flush with the ledger board's top and level placement. For extended decks, consider doubled rim joists, and guarantee staggered joints not over the same support point. Butt board ends centered on a floor joist, integrating beveling for aesthetic appeal, while additional nailing support may be used for stability. Note that cantilevered decks benefit from the support of the floor joists, reducing the load on the rim joist and enabling a robust structure.
Installing Field Joists
Completing the attachment of the rim joists sets the stage for a seamless installation of the field joists, which are integral in forming the deck's structural backbone. Begin by preparing the layout on the house ledger, marking each joist location at 16 inches on center with precision. Use the crow's foot symbol and draw vertical alignment lines to guarantee accurate placement. Install each joist, starting from the side rim, making certain they are crowned up for perfect flatness. The use of premium decking materials not only enhances the deck's visual appeal but also its longevity and resilience. When installing angled joists, it's important to use a Speed Square to ensure precise perpendicular alignment. Secure them using galvanized joist hangers, and check for straightness before fastening. This meticulous process not only strengthens the deck but also fosters a sense of unity and belonging among deck builders, as each component fits perfectly into the collective framework. Additionally, ensuring that blocking is placed every 8 feet or less for joists up to 16 inches apart is crucial for maintaining the structural integrity and reducing movement of the deck.
Ensuring Structural Support
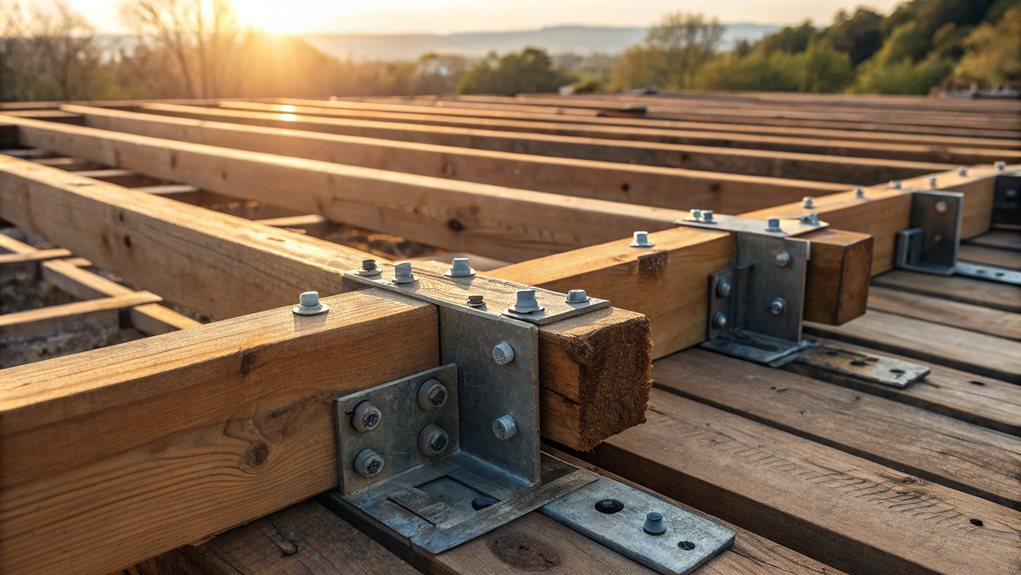
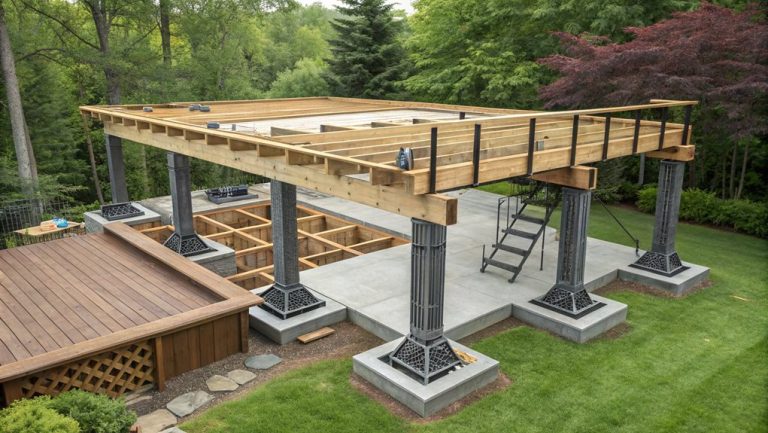
Integrating beams is a critical step in ensuring the structural support of a deck, as they serve as the primary load-bearing components that underpin the joists and decking boards. Beams distribute the deck's weight evenly to posts or footings, enhancing stability. By supporting larger deck spans, beams are included as the structural backbone necessary for stability and compliance with building codes. Proper installation requires beams to be perpendicular to the joists, parallel to the house wall. Each beam needs secure connection to posts using caps and screws, meeting local building codes. Foundation piers are essential for firm support, and these piers should have a 16-inch diameter that extends to the footing's depth. Secure joist-to-beam connections are essential, utilizing hurricane ties and structural screws for ideal stabilities. Environmental sustainability of cedar as a renewable resource enhances its appeal for use in deck construction, providing longevity and minimizing maintenance. Ensuring these specifications guarantees a reliable and long-lasting deck, fostering a sense of community safety and trust.
Deck Building And Design FAQ
How Do I Choose the Best Type of Wood for My Deck?
When selecting wood for your deck, consider factors such as environmental exposure, budget, and desired aesthetics. Pressure-treated lumber offers economical durability, while cedar and redwood provide natural resistance and beauty. Engineered wood or hardwood options guarantee additional strength and stability.
What Maintenance Do Deck Joists and Beams Require Over Time?
Regular maintenance of deck joists and beams involves inspections for damage, cleaning to prevent moisture, applying protective finishes, and addressing repairs promptly. Consistent adherence to these practices enhances safety, durability, and community enjoyment of shared outdoor spaces.
Can I Install Joists Directly Over an Existing Concrete Foundation?
Yes, joists can be installed directly over concrete by using sleeper panels for support. Guarantee the foundation is sound and consult professionals if uncertain. Utilize appropriate anchoring techniques and materials to certify longevity and safety.
How Do I Handle Deck Drainage to Prevent Moisture Buildup?
Effective deck drainage requires a slightly sloped surface, proper joist spacing, and material selection for moisture resistance. Incorporate under-deck drainage systems, maintain gutters, and apply protective treatments to prevent moisture buildup, ensuring your deck's longevity and integrity.
What Are the Signs of a Deteriorating Deck Structure?
A deteriorating deck structure may present signs such as soft, spongy surfaces, visible cracks, discoloration, or mold. Additional indicators include warped joists, structural instability, rusted fasteners, and an overall non-compliance with local building standards.

